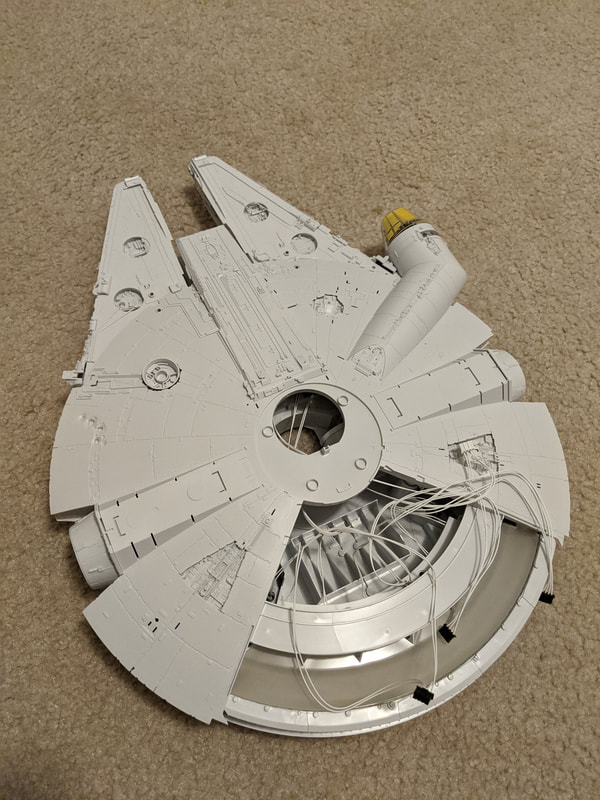
 So many sub-assemblies build up to this beauty! First of all, the Millennium Falcon is still sitting on the bench and still getting some love now and then, but life has most definitely slowed a lot of hobby time to a major halt. So, five months after my first build diary entry, here is the second part, which focuses on the smaller sub-assemblies that come together to make the big ship seen above. Up first, the cockpit attaches to a sub-assembly of the hallway to the rest of the ship. The first set of lights attaches through here and then threads through the ship to the light control box at the back. 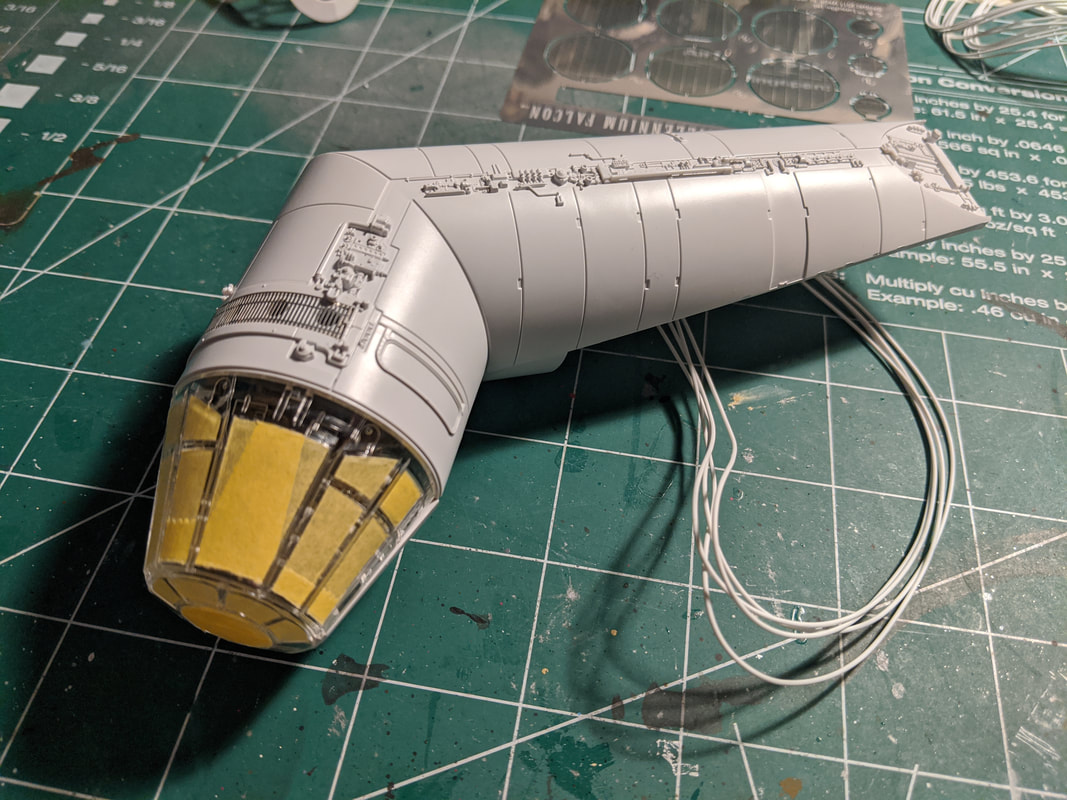 For now, I am using the clear cockpit to keep the inside paint in the cockpit protected from the rest of the paint job. The next part of the build was the front mandibles and their corresponding side walls. There were so many tiny parts to add on the sidewalls and in the exposed holes on the top and bottom side. 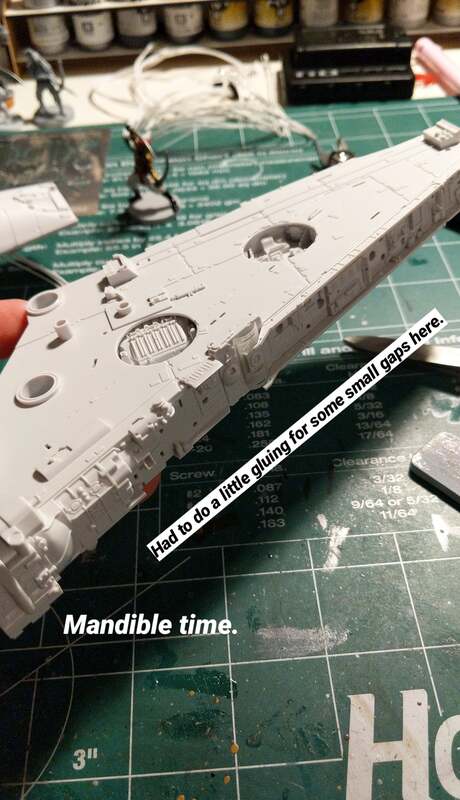 Most of the holes you see on the sidewalls here were filled by tiny, tiny parts. There was a small amount of gapping when the two halves were combined, but a little glue and clamping helped solve that problem. tAfter the mandibles came the bottom and top hull parts with all of the exposed inner parts as well. The mandibles fit well onto the bottom hull, and the fit between the top and bottom hull was surprisingly good. 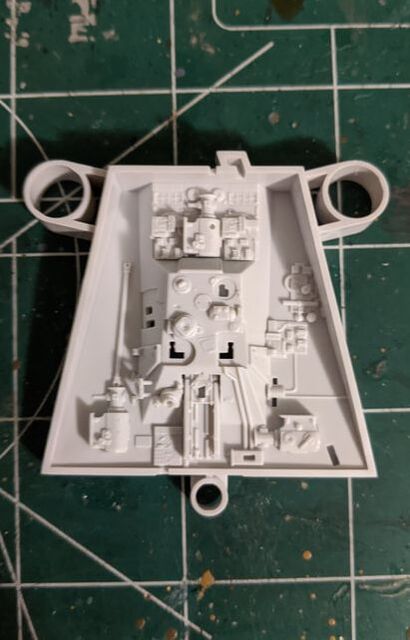 A little taste of the detail just from the exposed hull areas. A little taste of the detail just from the exposed hull areas. Finally, all the sub-assemblies came together to create a pretty good picture of the final size and look of the model. I decided to assemble most of the kit and then start the painting instead of painting each sub-assembly and work from there, but everyone prefers different methods, so a different choice might work better for someone else. Most of the assembly was fairly straightforward, but because of the level of detail on many of the sidewals and exposed hull parts, some of the tiniest parts definitely required a good pair of tweezers. I think I only broke two pieces total, and I was able to glue them back together once they were in place. 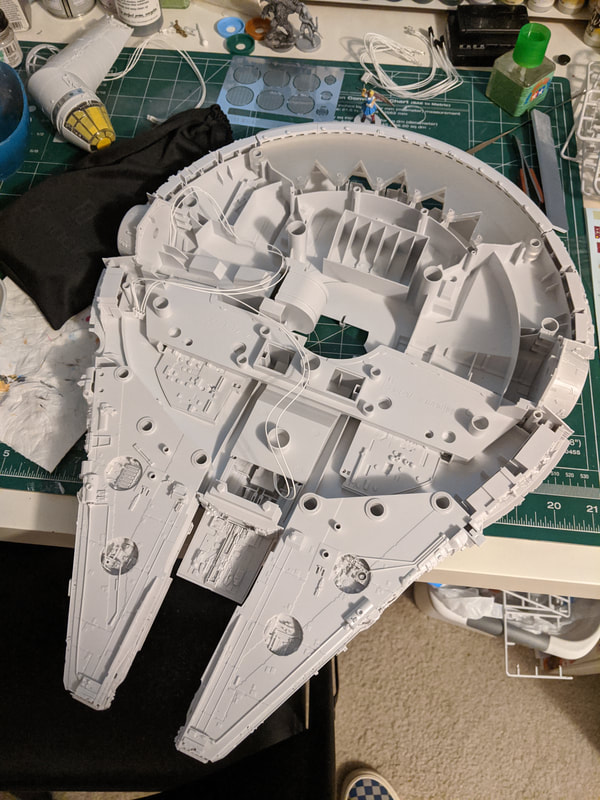 Overhead view of how the mandibles fit into the bottom hull parts and how some of the wiring fits in. For part III, coming sometime in the future, I will move onto priming and basecoating. Thanks for reading and following along!
8 Comments
|
AuthorModel builder, board gamer, and all around lover of small scale stuff. Archives
March 2021
Categories
All
|
 RSS Feed